Growing your own mung bean sprouts at home is a rewarding, cost-effective, and surprisingly simple kitchen project. Within just four to six days, you can transform dry, unassuming green beans into crisp, crunchy, and vitamin-packed sprouts. However, as any home gardener or culinary enthusiast will tell you, the process does not always go according to plan.
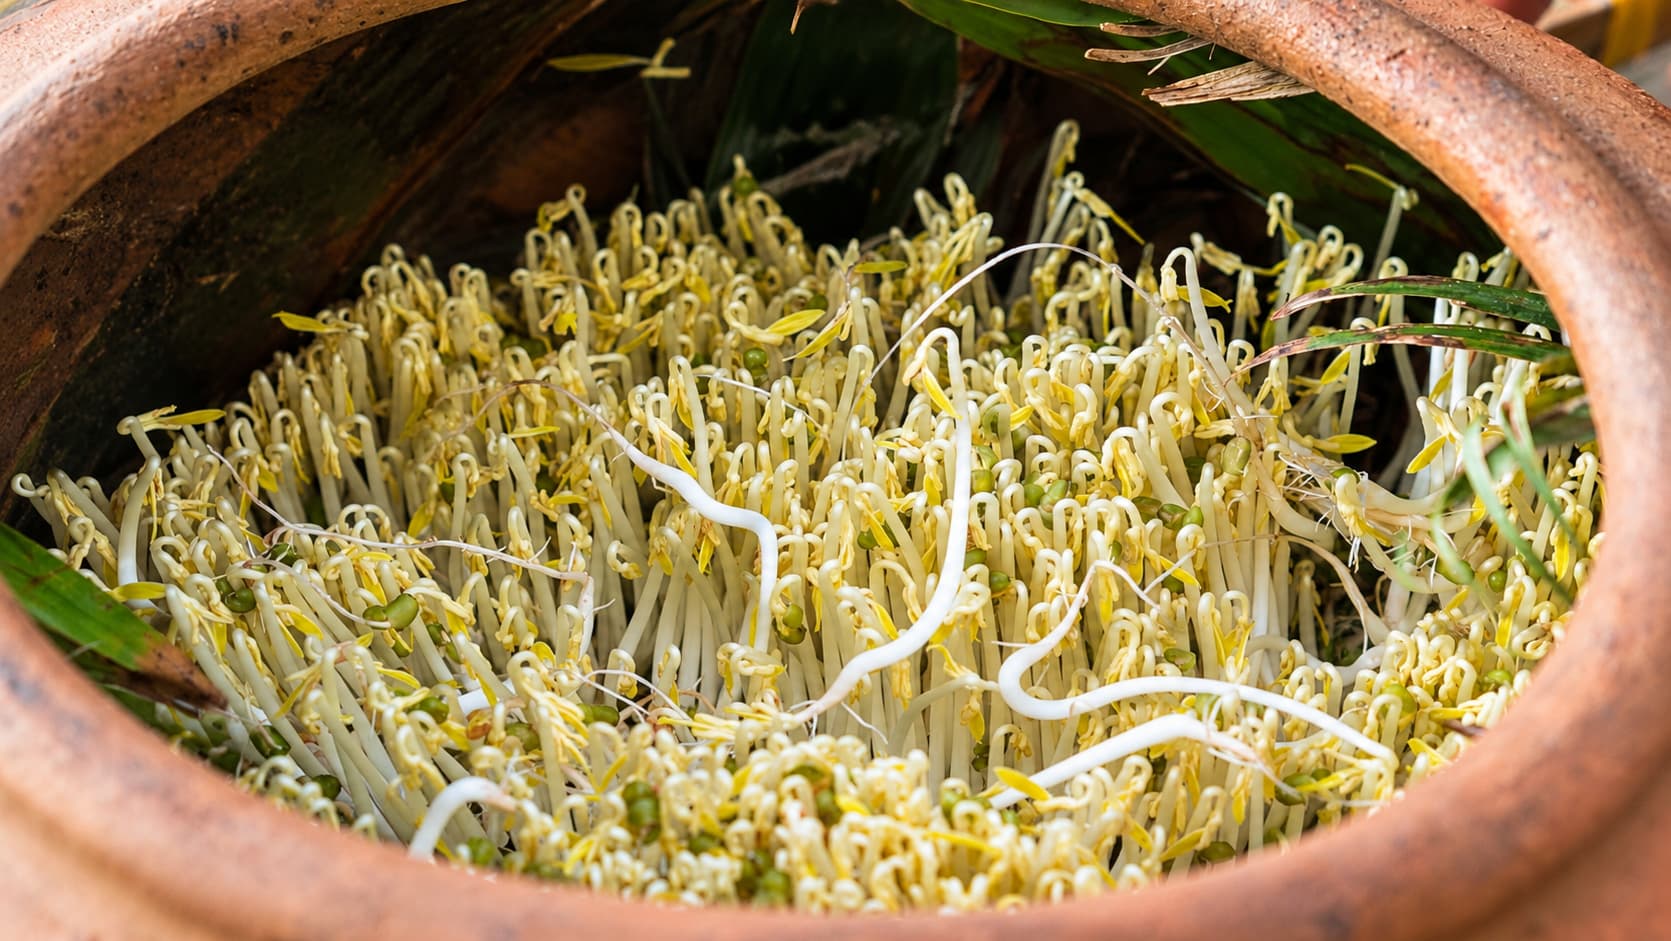
From strange odors and bitter tastes to slimy textures and sluggish growth, a few common pitfalls can trip up beginners. Understanding why these issues happen and how to fix them ensures you can rescue your batch and enjoy a successful harvest every time.
Foul Odors and Slimy Sprouts
Problem: Rot or bacterial growth
One of the most alarming issues you might encounter is opening your sprouting vessel to find a pungent, unpleasant odor accompanied by a slick, slimy texture on the beans.
The Cause: This is almost always caused by excess moisture combined with poor ventilation or stagnant water. If water is allowed to pool at the bottom of your container, anaerobic bacteria can thrive, leading to rot.
How to Fix It: Unfortunately, if the sprouts are actively rotting and foul-smelling, they cannot be saved. Discard the batch, sanitize your equipment thoroughly with hot, soapy water or a mild vinegar solution, and start over.
Prevention Tips: Make sure your sprouting jar or container has excellent drainage. When rinsing your beans, tilt the container at a sharp angle for several minutes to allow every last drop of excess water to escape. Never let your beans sit in standing water.
Bitter-Tasting Sprouts
You’ve successfully grown a lush batch of thick, white sprouts, but when you take a bite, they taste unpleasantly bitter.
The Cause: Bitterness in homegrown bean sprouts is usually triggered by two main factors: too much light or temperature stress. Mung beans naturally sprout underground or in dark environments. If light reaches them during the sprouting process, they can develop chlorophyll and bitter-tasting compounds. High heat can also stress the sprouts and alter their flavor.
How to Fix It: Once bitterness develops, it cannot be reversed in that specific batch.
Prevention Tips: Keep your sprouting container in a dark cupboard or pantry, or drape a dark kitchen towel over it. Keep your sprouting area at a comfortable room temperature, ideally between 20°C and 24°C (68°F and 75°F), away from direct sunlight and drafty windows.
Sluggish Growth or Stunted Sprouts
Day four arrives, but your mung beans look almost identical to how they did on day two. They are barely growing, or the roots are extremely short.
The Cause: Slow growth is often the result of low temperatures. Mung beans need warmth to support rapid cellular activity and growth. If your kitchen is too cold, the seed’s growth process slows down significantly.
How to Fix It: Move your sprouting setup to a warmer spot in your kitchen, such as near the stove while avoiding direct heat sources. You can also place it in an unlit oven with the oven light turned on, provided the oven will not be accidentally turned on.
Prevention Tips: Monitor your room temperature. If your house runs chilly, you may need to extend the sprouting timeline by a day or two. Providing a slightly warmer environment can help speed up growth.
Pink, Red, or Brown Discoloration
Sometimes, parts of the sprouts or the root tips can take on a reddish, pinkish, or brownish hue.
The Cause: A pink or reddish tint can sometimes occur as a natural response to minor light exposure, slight dehydration, or natural changes in the seed coat. Brown tips may indicate that the roots are drying out between rinses or that the water contains a high level of mineral impurities.
How to Fix It: If the discoloration is minor and there is no foul odor or sliminess, rinse the sprouts thoroughly and inspect them carefully. Remove any visibly damaged or discolored portions before cooking.
Prevention Tips: Maintain a consistent rinsing schedule, usually two to three times a day, to keep the sprouts hydrated. Make sure your sprouting vessel is well-drained and protected from unnecessary light exposure.
Best Practices for Flawless Home Sprouting
To minimize troubleshooting and maximize your yield, keep these simple rules in mind:
- Start with Quality Seeds: Always use fresh mung beans specifically labeled for sprouting. Old or damaged beans may have lower germination rates and can spoil more easily.
- Rinse Consistently: Set a reminder on your phone to rinse and drain your beans thoroughly every 8 to 12 hours.
- Sanitize Everything: Cleanliness is essential. Wash your jars, mesh lids, and hands before handling the beans to help reduce the risk of mold and bacterial growth.
By paying close attention to moisture control, temperature, drainage, and darkness, you can troubleshoot common problems and master the art of growing crisp, delicious mung bean sprouts right on your kitchen counter.
Frequently Asked Questions About Sprouting Mung Beans
How long do mung beans take to sprout?
Most mung beans are ready to harvest within four to six days under suitable conditions.
How often should I rinse mung bean sprouts?
Rinse and drain them thoroughly about two to three times a day, or every 8 to 12 hours.
Why do my mung bean sprouts smell bad?
A foul smell is usually a warning sign of spoilage caused by excess moisture, poor drainage, or bacterial growth. Discard sprouts that smell rotten or feel slimy.
Why are my mung bean sprouts growing slowly?
Cool temperatures are a common reason for slow growth. Keeping the sprouting area comfortably warm can help encourage faster development.
Should mung bean sprouts be kept in the dark?
Yes. Keeping them away from direct light helps maintain the pale, crisp appearance commonly associated with mung bean sprouts.
Final Thoughts
Growing mung bean sprouts at home is simple, but small changes in moisture, temperature, drainage, and light can make a big difference. By keeping your equipment clean, rinsing consistently, and giving the beans the right environment, you can avoid many common problems and enjoy a fresh batch of sprouts in just a few days. If you run into problems along the way, these tips on how to fix home grown Bean Sprouts can help you identify and solve common issues.