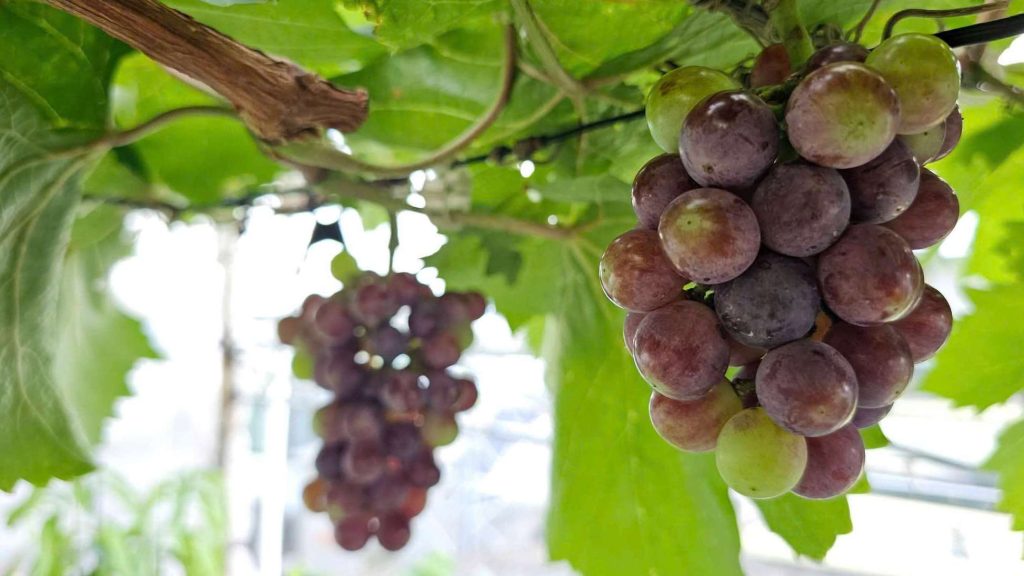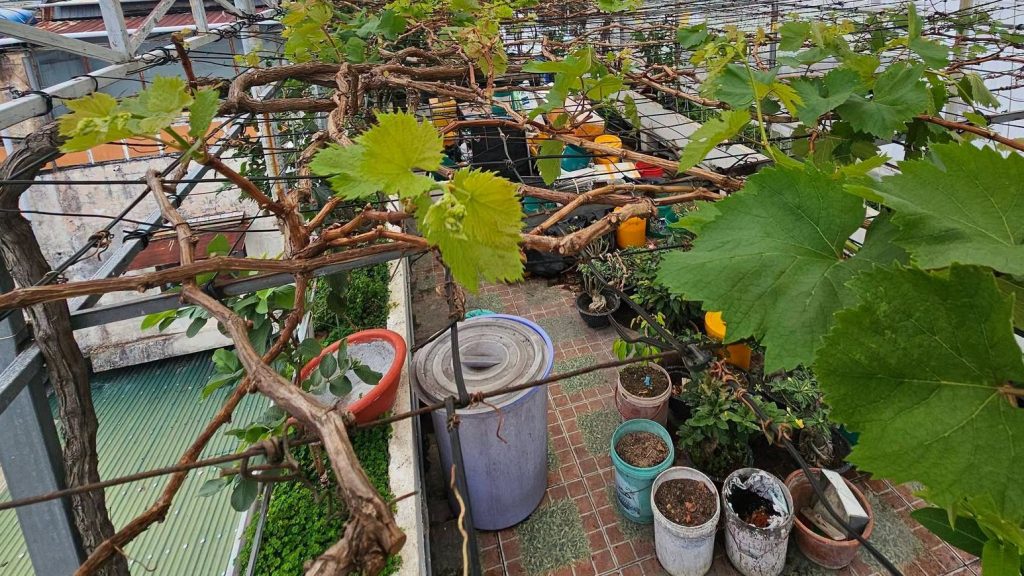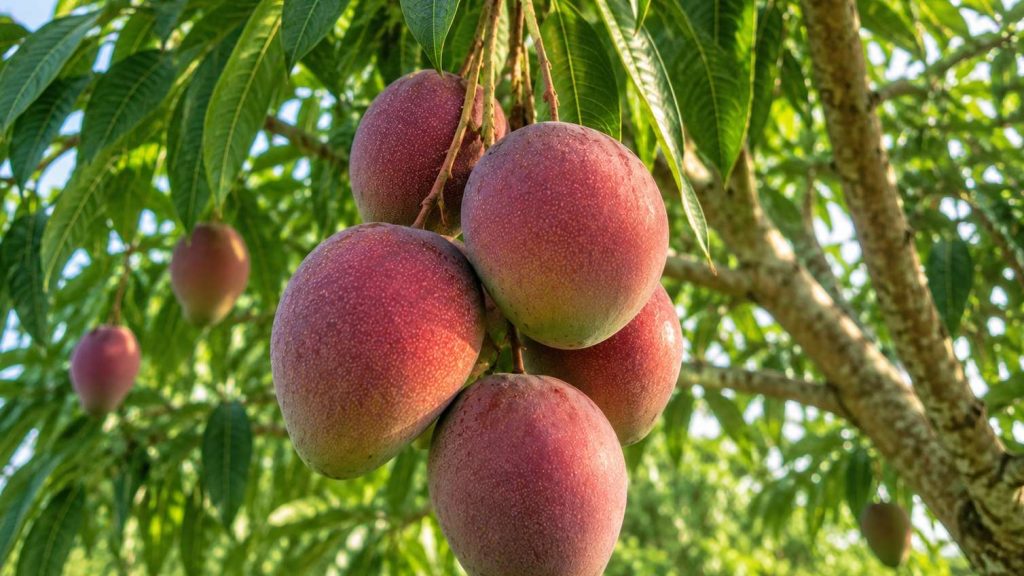
Guava can be propagated from seeds or through vegetative methods such as cuttings, grafting, and air layering. For seedless or desirable guava varieties, air layering is a practical way to produce new trees while keeping the characteristics of the parent plant.
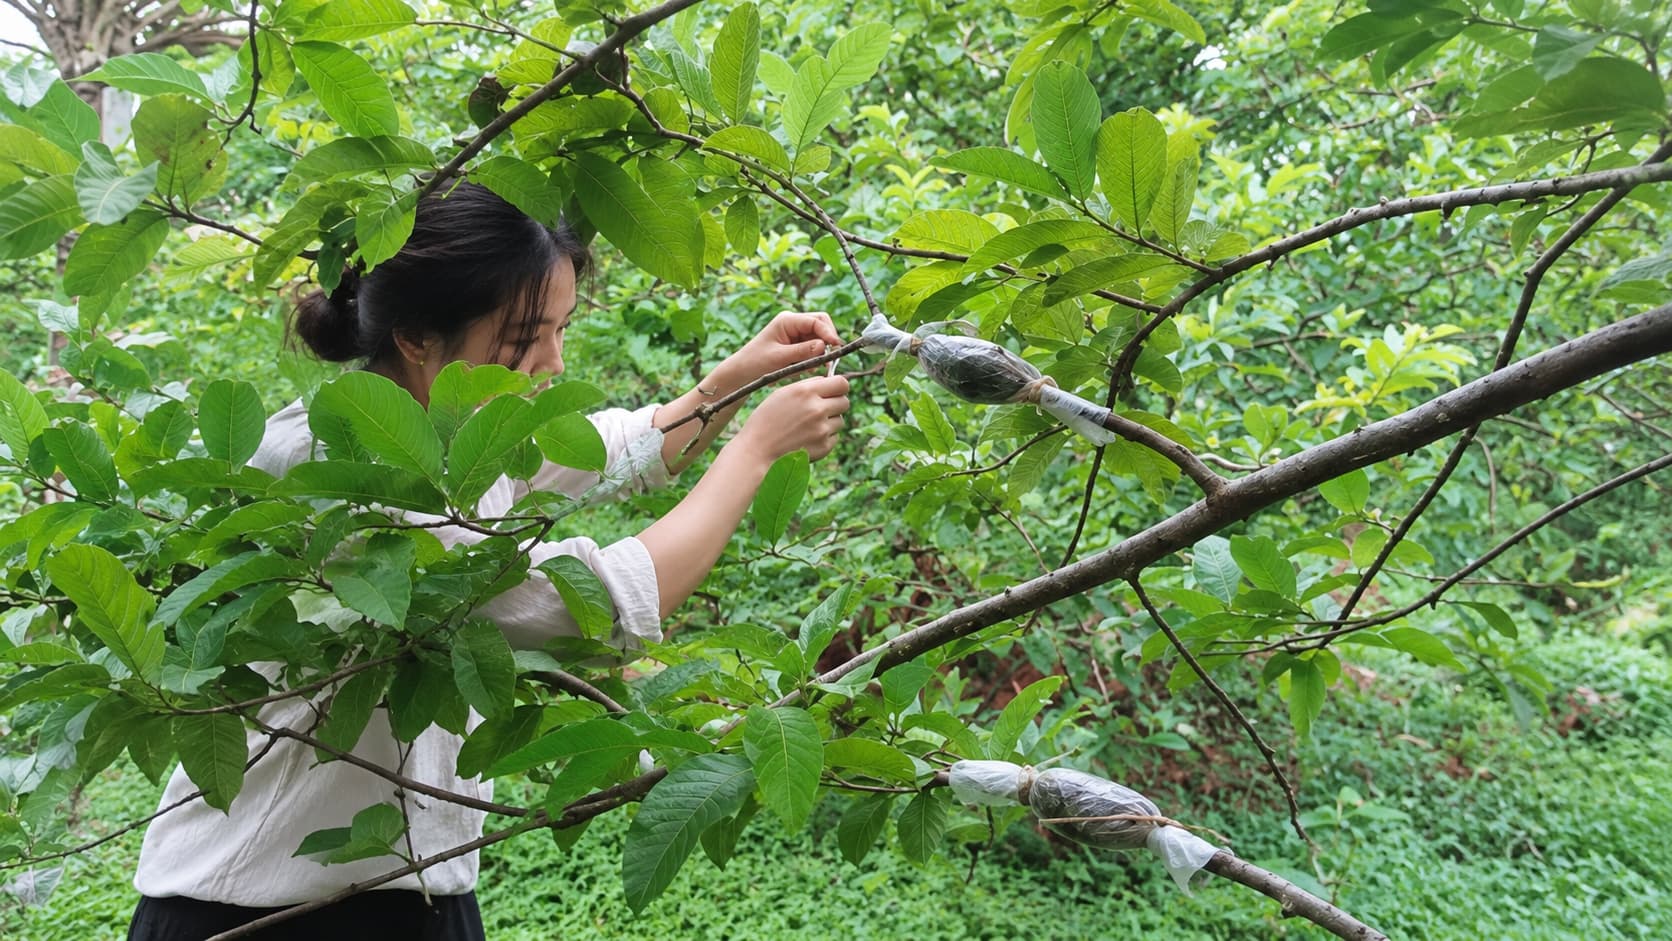
The branch remains attached to the tree while new roots develop, giving it continued access to water and nutrients. In this guide, learn how to propagate guava trees by air layering step by step.
| Growing Condition | What Guava Trees Need |
|---|---|
| Sunlight | Guava trees prefer full sun. Plenty of direct sunlight encourages healthy growth, flowering, and fruit production. |
| Temperature | Guava trees can tolerate a relatively wide range of temperatures, but they grow best in warm conditions. |
| Humidity | Guava trees prefer consistent moisture and generally grow well in humid conditions. |
| Soil | Guava can grow in many soil types, including relatively poor soils. However, loose, fertile, well-draining soil is ideal for healthy growth. |
| Fertilizer & Organic Matter | Before planting, mix organic matter into the soil to improve its structure and moisture retention. Materials such as rice husks, rice-husk ash, coconut coir, and well-rotted organic fertilizer can be useful. |
Air layering is a practical way to propagate a guava tree because the branch remains attached to the parent tree while it develops new roots. Once the roots are strong enough, the branch can be removed and planted as a new guava tree.
The process is fairly simple, but choosing the right branch, working at the right time, and keeping the rooting medium properly moist can make a big difference. Here is a step-by-step guide to propagating guava trees by air layering.
Prepare Your Tools
You do not need a lot of equipment to air layer a guava tree. A few basic gardening supplies are usually enough:
- A sharp, clean knife for cutting and removing the bark
- Clean pruning shears
- Moist rooting material
- Plastic wrap or a suitable plastic bag
- Soft ties, string, or garden tape for securing the air layer
Clean your knife and pruning shears before starting. Sharp tools make cleaner cuts and reduce unnecessary damage to the branch.
It is also a good idea to prepare everything before making the first cut. Once the branch has been prepared, you want to wrap it without leaving the exposed area unprotected for too long.
Choose the Right Time to Air Layer a Guava Tree
Timing can affect how quickly a guava branch develops roots.
The best time to air layer is generally when the tree is actively growing and the weather is warm and reasonably stable. In many growing regions, spring and fall can provide favorable conditions.
However, there is no single calendar date that works everywhere. Local weather matters more than a specific month.
Choose a period when the parent tree is healthy and actively growing. Avoid air layering during prolonged drought, extreme heat, severe cold, or other conditions that may put the tree under stress.
A healthy tree with active growth is more likely to support the branch while new roots are developing.
Step 1: Choose a Healthy Parent Tree and Branch
Start with the parent tree. The quality of the new plant begins with the branch you choose.
Select a mature, vigorous guava tree that has healthy foliage and no obvious signs of serious pests or disease. If you are propagating the tree because you like its fruit, choose one that consistently produces good-quality guavas.
Next, look for a suitable branch.
A semi-mature branch is usually a good choice. It should not be extremely soft and young, but it should not be an old, heavily woody branch either.
Choose a branch that is healthy, reasonably strong, and free from damage.
Branches growing in an open part of the canopy are often easier to work with than branches buried deep inside the tree. You should also be able to reach the branch comfortably so you can monitor the air layer later.
Avoid weak shoots, damaged branches, and branches with signs of disease or insect problems.
Step 2: Prepare the Rooting Material
The rooting material will surround the wounded part of the branch and provide a moist environment where new roots can develop.
Several materials can work for air layering, including treated coconut coir, sphagnum moss, or other lightweight materials that hold moisture while allowing some air movement.
The most important thing is moisture.
The material should be moist but not soaking wet.
If it is completely dry and falls apart when handled, add some water. If it feels muddy or releases a lot of water when squeezed, it is too wet and should be allowed to drain or mixed with some drier material.
You want a rooting medium that stays moist for a reasonable amount of time without becoming waterlogged.
Step 3: Girdle and Remove the Bark
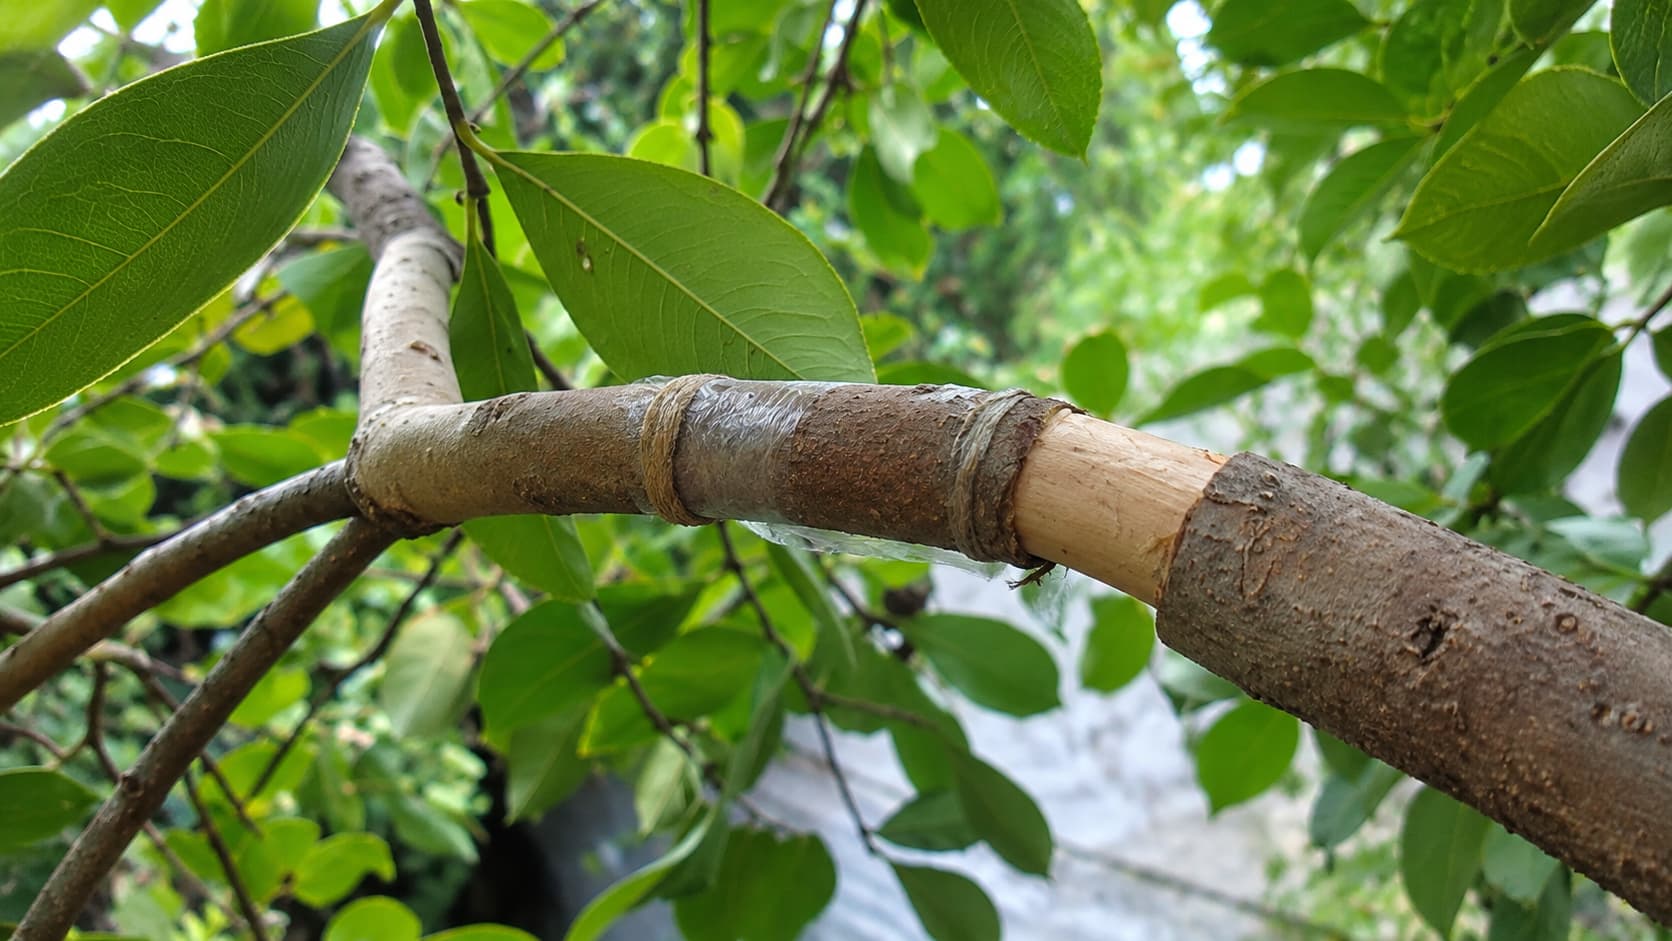
This is the main step that starts the air-layering process.
Choose the section of the branch where you want roots to form. Using a sharp, clean knife, make two cuts completely around the branch.
Remove the ring of bark between the two cuts.
Once the bark has been removed, gently clean the exposed surface. The goal is to prevent the wound from healing over too quickly before roots have a chance to develop.
Take care not to cut deeply into the wood. A deep wound can weaken the branch and may prevent successful propagation.
Work carefully and keep the cuts as clean as possible.
Once the bark has been removed and the exposed area is prepared, you are ready to add the rooting material.
Step 4: Wrap the Air Layer
Take a handful of the moist rooting material and place it around the exposed section of the branch.
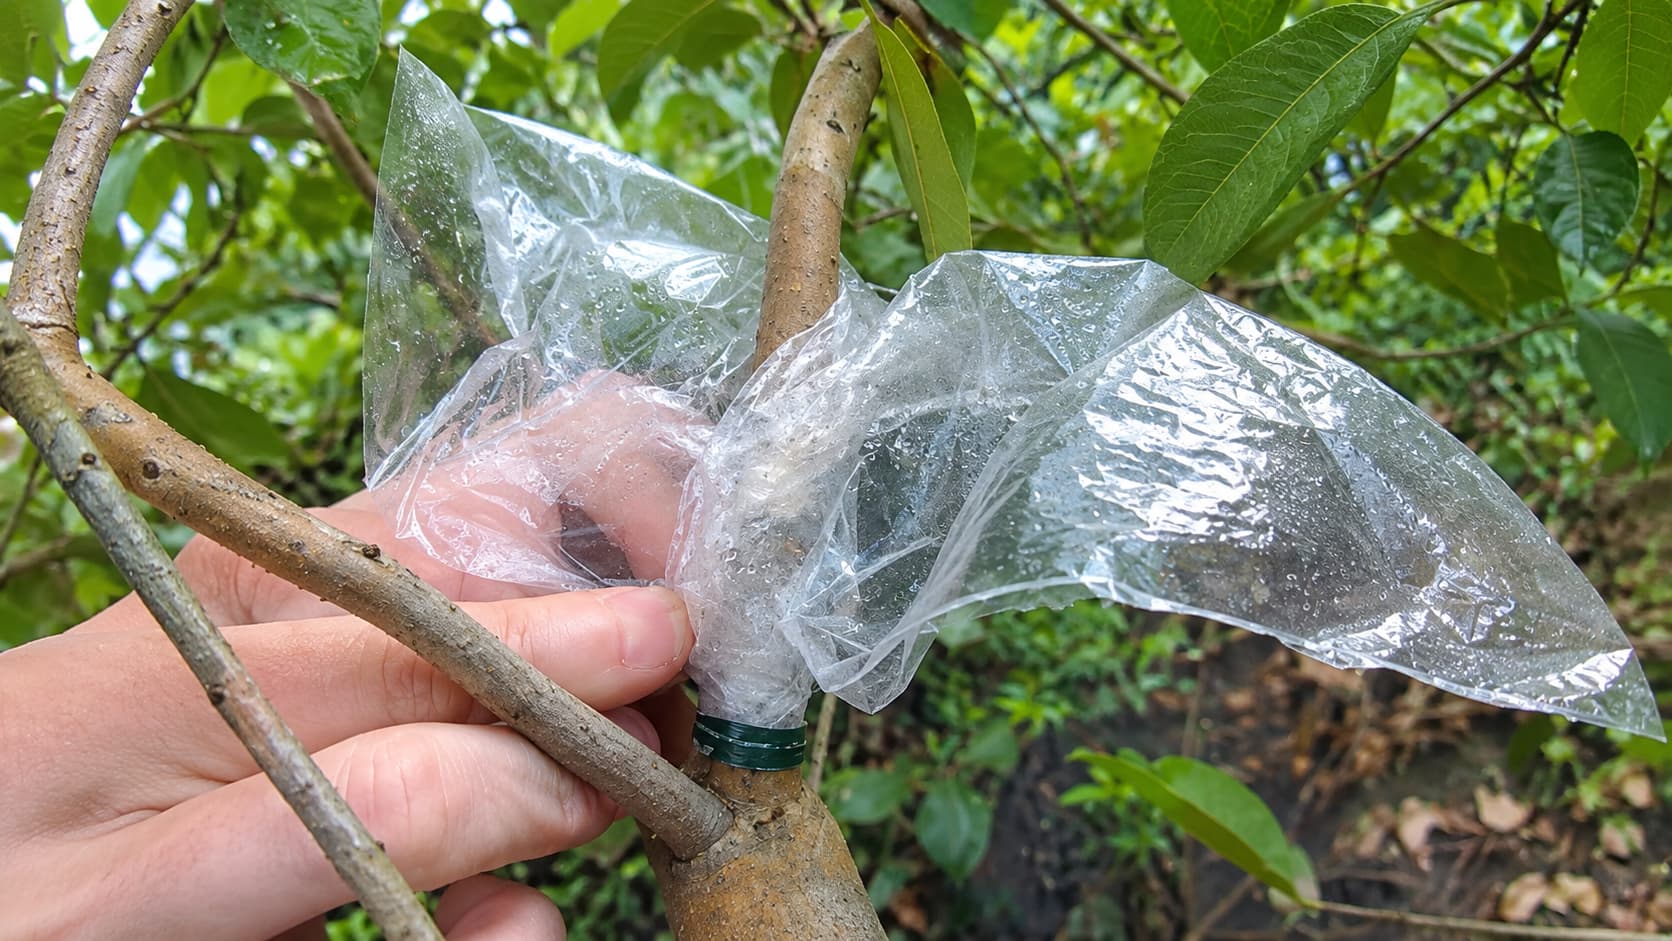
Make sure the entire wounded area is surrounded by the material. The rooting medium should make good contact with the branch but should not be packed so tightly that it becomes dense.
Once the material is in place, wrap it with plastic to help retain moisture.
Secure both ends of the wrapping with soft ties, string, or garden tape. The air layer should stay firmly in place, but avoid tying it so tightly that the branch is damaged.
The finished air layer should remain moist and protected from drying winds and excessive exposure to the sun.
If you choose to use a rooting product, select one that is appropriate for plant propagation and follow the manufacturer’s directions. Rooting products are optional, and they should not replace good branch selection and proper moisture management.
Step 5: Care for the Air Layer While Roots Develop
Once the air layer is wrapped, the best thing you can do is give it time.
Check it occasionally to make sure the wrapping is still secure and the rooting material has not dried out.
Hot, dry weather can cause the material to lose moisture more quickly. If it becomes too dry, add a small amount of water and carefully reseal the wrapping.
Try not to open the air layer unnecessarily.
Constantly disturbing the rooting area can damage newly forming roots and make the process less consistent.
The time required for rooting can vary considerably. Guava variety, branch maturity, tree health, temperature, humidity, and moisture can all affect the process.
For that reason, avoid judging the process by a fixed number of days. Instead, watch the branch and look for signs of healthy root development.
Step 6: Know When to Cut the New Guava Plant From the Parent Tree
The branch is ready to separate when it has developed a reasonably strong root system.
If you used clear plastic, you may eventually be able to see new roots growing inside the air layer. This makes it easier to judge the progress without opening the wrapping.
Do not cut the branch simply because you see one or two small roots.
The new roots need to be developed enough to support the branch after it is separated from the parent tree.
Once the root ball contains a healthy network of roots, use clean, sharp pruning shears or another suitable cutting tool to remove the branch below the rooted section.
Make a clean cut and handle the new root ball carefully.
Step 7: Plant the Rooted Guava Branch
After separating the rooted branch, it is often easier to plant it in a container first.
Choose a pot with drainage holes and fill it with a loose, well-draining growing medium. Carefully position the new root ball and add the growing medium around it.
Try not to break apart the material surrounding the newly formed roots.
Water the plant gently after planting. The goal is to provide enough moisture to settle the growing medium without leaving the young roots sitting in saturated soil.
For the first few weeks, place the plant somewhere with good light but protect it from harsh, prolonged sunlight.
The newly separated plant has gone through a stressful transition. It may need some time to adjust before it can handle the same conditions as an established guava tree.
If the branch has a large amount of foliage, you can lightly prune some leaves or small branches. Reducing excessive foliage can help lower water loss while the young root system becomes established.
Once you see fresh shoots and new leaves developing, the plant is usually showing signs that it is settling into its new home.
Important Tips for Air Layering Guava Trees
A few simple precautions can improve your chances of success.
First, do not choose a branch that is extremely young or excessively old. A healthy semi-mature branch is generally easier to work with.
Second, pay attention to moisture. The rooting material should stay damp, but it should not remain saturated.
Third, avoid cutting the branch away from the parent tree too early. A small number of roots may not be enough to support the branch once it becomes independent.
Finally, resist the temptation to open the air layer repeatedly. Once everything is prepared correctly, patience is an important part of the process.
Air layering does not always work perfectly on the first attempt, and results can vary from one branch to another. If one branch fails, review the branch selection, moisture level, timing, and condition of the parent tree before trying again.
With a healthy parent tree, a suitable semi-mature branch, and consistent care, air layering can be a practical way to create new guava trees while keeping the desirable characteristics of the original plant.