Shiso is surprisingly easy to grow once you understand what it likes. The biggest mistake I see with this herb is treating it like a plant that needs constant attention. In my experience, shiso grows much better when you give it good soil, enough sunlight, and regular moisture, then let it do its thing.
I usually grow shiso for the fresh leaves, so I focus on keeping the plants bushy and producing new growth for as long as possible. Whether you start with seeds or young plants, a few simple planting tricks can help you get stronger, healthier shiso.
Pick a Warm, Sunny Spot
Shiso likes warmth. I’ve found that it really starts taking off when the weather stays consistently warm.
Choose a spot that gets around six hours of sunlight a day. Morning and early afternoon sun works especially well. If your summers are extremely hot, a little afternoon shade can help prevent the leaves from becoming stressed.
Good airflow is also worth considering. I avoid planting shiso in a spot where plants are packed tightly together because the leaves can stay damp after rain or watering.
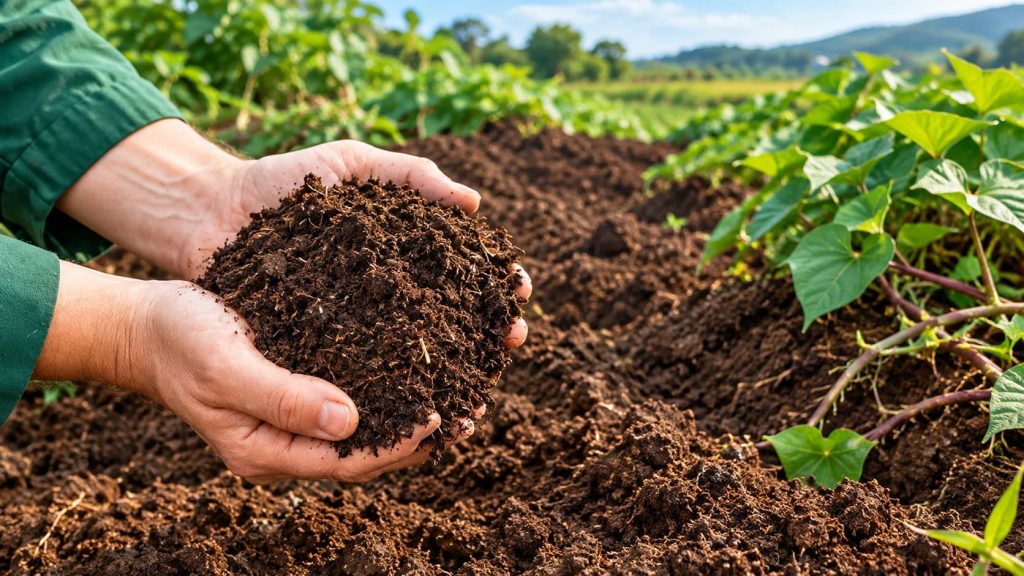
The soil should drain well. Shiso likes moisture, but it doesn’t like sitting in water. If your garden soil is heavy, mixing in some compost before planting can make a noticeable difference.
Starting Shiso From Seed
Starting shiso from seed is probably my favorite method because you can grow several plants without spending much.
The seeds are tiny, and this is where many beginners make a mistake. Don’t bury them deeply. I simply scatter the seeds over prepared soil and press them gently into the surface.
After planting, keep the soil moist but not soaking wet. A gentle spray of water works better than pouring water directly over the planting area, which can wash the small seeds away.
Be patient. Shiso seeds can take a little while to germinate, particularly if the weather isn’t warm enough. Once the seedlings appear, give them plenty of light.
When they have developed a few true leaves, thin out the weaker or overcrowded seedlings. It can feel wasteful to remove young plants, but giving the remaining plants enough room usually produces much better growth.
Planting Young Shiso
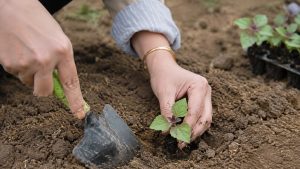
If you buy shiso plants from a nursery, planting them is quite straightforward.
I like to water the young plants before transplanting them. This helps keep the root ball together and reduces stress during planting.
Dig a hole slightly wider than the roots and place the plant at about the same depth as it was growing in its container. Fill the soil back around the roots and water thoroughly.
Don’t worry if the plant looks a little tired for the first day or two. That’s fairly normal after transplanting. Keep the soil evenly moist while it settles in.
One thing that helps is transplanting in the evening or on a cloudy day. The plant gets a chance to adjust before being exposed to strong midday sunlight.
Give Shiso Enough Room
Shiso can become much bushier than you might expect.
I generally leave around 12 to 18 inches between plants. If you want large, bushy plants, give them the larger end of that range.
When shiso is planted too close together, the plants compete for light and airflow. They may still grow, but harvesting becomes harder and the foliage can become crowded.
If you’re growing shiso in a container, one plant in a medium-sized pot is often enough. A larger container can hold more than one plant as long as you don’t overcrowd it.
Don’t Let the Soil Dry Out Completely
Watering is one of the things I pay the most attention to when shiso is young.
I check the soil with my finger rather than following a strict watering schedule. If the surface feels dry, it’s usually time to water.
During hot weather, shiso may need water more frequently. Container plants especially can dry out surprisingly fast.
I prefer watering around the base of the plant rather than constantly spraying the leaves. Morning is usually the easiest time because any water that gets onto the foliage has plenty of time to dry.
At the same time, don’t turn the soil into mud. If the ground stays wet for days, the roots can suffer.
Don’t Overfeed the Plants
Shiso doesn’t need a complicated fertilizer routine.
Before planting, I like to work some compost into the soil. In reasonably fertile soil, that may be enough for much of the growing season.
If growth becomes slow or the leaves look unusually pale, a mild balanced fertilizer can help. I wouldn’t go overboard, though. Too much fertilizer can produce lots of soft growth and isn’t necessary for a healthy herb plant.
Good soil is usually more valuable than constantly feeding the plant.
Pinch the Tops for Bushier Growth
This is one of the simplest tricks I’ve learned for growing better-looking shiso.
When the main stem starts getting tall, pinch off the growing tip just above a pair of leaves. The plant will usually respond by producing side branches.
Instead of having one tall stem, you gradually get a fuller, bushier plant.
Regular harvesting can also encourage branching. I prefer picking leaves and tender shoots regularly rather than waiting until the plant becomes huge.
If your main goal is fresh leaves, remove flower buds when they start appearing. This helps keep the plant focused on leafy growth.
If you want to collect your own seeds, however, leave some flowers on the plant and allow them to mature.
Growing Shiso in Pots
Shiso is a good choice if you don’t have much garden space.
I’ve grown herbs in containers for convenience, and shiso fits this setup nicely. Use a pot with drainage holes and a quality potting mix rather than heavy garden soil.
A container around 8 to 12 inches wide can work for one plant. Larger pots give the roots more room and don’t dry out quite as quickly.
The main thing to remember with containers is watering. On hot days, check the soil more often because a pot can dry out much faster than a garden bed.
If the afternoon sun becomes too intense, you can also move a container to a slightly more sheltered location.
Keep an Eye on the Leaves
Healthy shiso usually doesn’t require much pest control, but I still check the leaves regularly.
When I notice holes, curled leaves, or unusual spots, I look closely at both the top and underside of the leaves. Catching a problem early is much easier than dealing with an infestation later.
Yellow leaves are often a sign that something is wrong with the growing conditions. Too much water, poor drainage, or stressed roots can all contribute.
Before reaching for fertilizer or other treatments, check the basics first: sunlight, soil moisture, drainage, and spacing.
Harvest Little and Often
I prefer harvesting shiso little by little rather than stripping a large number of leaves from the plant at once.
Pick healthy leaves as you need them, especially the younger, tender ones. You can also harvest the growing tips once the plant is well established.
Regular harvesting encourages the plant to produce fresh shoots and helps prevent it from becoming too tall.
If you notice the plant starting to flower and you mainly want leaves, pinch off the flower buds. If you’re saving seeds, leave some flowers alone and let them mature naturally.
My Biggest Tip for Growing Shiso
If I had to give one piece of advice to someone growing shiso for the first time, it would be don’t overcomplicate it.
Start with good soil, plant the seeds shallowly, keep the soil consistently moist while they germinate, and give the young plants plenty of light. Once they get established, shiso can grow surprisingly quickly.
I also recommend harvesting regularly and pinching the growing tips. Those two habits make a big difference if you want a compact plant with plenty of fresh leaves.
For gardeners starting from scratch, learning how to grow shiso from seed is a good place to begin.