How to grow kale from seeds is easier than many new gardeners expect. Kale is a tough, cool-season vegetable that does well in a home garden with the right soil, sunlight, and watering.
Starting kale from seed also gives you more choices when it comes to varieties. You can plant a few seeds, watch them grow, and harvest fresh leaves over a long period.
Choose the Right Kale Seeds
Before planting, choose a kale variety that fits your garden and the season you want to grow it.
Some varieties produce large, dark green leaves, while others have smaller or more ruffled leaves. There are also types that handle cold weather especially well.
If this is your first time growing kale, choose a variety that is known for being productive and easy to grow.
Check the seed packet for the recommended planting dates and days to maturity. This information can help you plan your crop more easily.
When to Start Kale Seeds
Kale grows best during cool weather, so timing is important.
For a spring crop, you can usually start seeds indoors about 4 to 6 weeks before your area’s last spring frost. You can also sow seeds directly in the garden when the soil is workable.
For a fall crop, start seeds during summer so the plants have enough time to become established before cooler weather arrives.
The exact timing depends on your climate. In warmer parts of the country, fall can be one of the best seasons for growing kale.
Step 1: Prepare the Soil
Kale is not especially demanding, but good soil makes growing much easier.
Choose a location that gets around 6 hours of sunlight or more each day. The soil should drain well and contain plenty of organic matter.
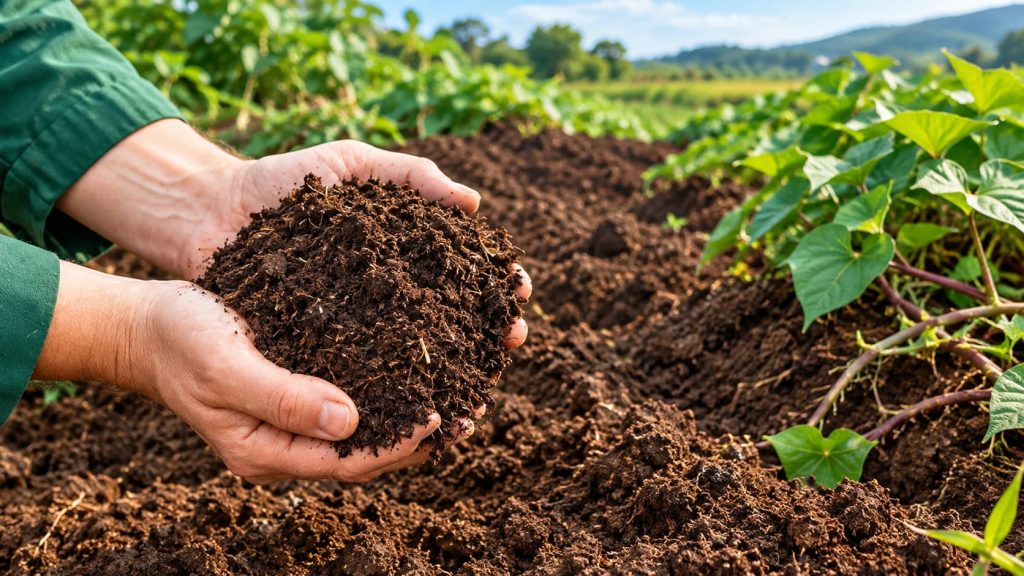
Before planting, loosen the top several inches of soil. If the soil is poor, mix in finished compost to improve its structure and fertility.
Avoid planting kale in an area where water regularly collects after rain. Constantly wet soil can cause root problems and make it harder for young plants to grow well.
Step 2: Plant the Seeds
Kale seeds do not need to be planted deeply.
Make a shallow hole or row and place the seeds about ¼ to ½ inch deep. Cover them lightly with soil and water gently.
Try not to wash the seeds away with a strong stream of water.
Keep the soil consistently moist while the seeds are germinating. Under good conditions, kale seeds can sprout fairly quickly.
If you are planting several rows, leave enough space between them so you can easily water, weed, and harvest later.
Step 3: Keep the Soil Moist
Water is especially important during germination.
The soil should stay lightly moist but not soaked. If the surface becomes completely dry, germination may be slower or uneven.
Once the seedlings are established, kale becomes more forgiving. Still, regular watering helps the plants produce larger, healthier leaves.
During dry weather, check the soil with your finger. If the top inch feels dry, it is usually time to water.
Water near the base of the plant rather than constantly wetting the leaves. Morning watering is often a good choice because the foliage has time to dry during the day.
Step 4: Thin the Seedlings
If you planted several seeds close together, you may need to thin the seedlings after they emerge.
Crowded kale plants compete for sunlight, water, and nutrients. Giving each plant enough room allows it to develop a stronger root system and larger leaves.
Wait until the seedlings are large enough to handle easily. Then remove the weaker or overcrowded seedlings.
You can use the spacing recommended on your seed packet because different varieties can have different mature sizes.
Step 5: Give Kale Enough Sun
Kale grows well in full sun, especially during spring and fall.
Around 6 to 8 hours of sunlight per day is ideal in many gardens.
However, if you are growing kale in a warm climate, some afternoon shade can be helpful. Too much heat can stress the plants and slow their growth.
If your garden becomes very hot during summer, consider growing kale where it receives morning sun and some protection from intense afternoon heat.
Step 6: Feed the Plants
Kale is a leafy vegetable, so it benefits from fertile soil.
If you prepared the soil with compost before planting, you may not need much additional fertilizer at first.
As the plants grow, watch their leaves and overall growth. If the plants appear weak or growth is unusually slow, a balanced vegetable fertilizer may help.
Do not overfeed. Too much fertilizer is not always better and can create unnecessary problems.
A healthy layer of compost around the plants can also help maintain soil quality and moisture.
Step 7: Watch for Pests
Kale is generally easy to grow, but insects can still find it.
Common problems include aphids, caterpillars, flea beetles, and other small garden pests.
Check the leaves regularly, especially the undersides. Catching a pest problem early is much easier than dealing with a large infestation later.
Row covers can be useful for protecting young plants from some insects. Keeping the garden clean and removing badly damaged leaves can also help.
You do not need to panic when you see a few holes in a leaf. Some insect damage is normal in a vegetable garden.
Step 8: Keep Weeds Under Control
Young kale plants do not compete well with aggressive weeds.
Check the garden regularly and remove weeds while they are still small. Be careful when cultivating around the plants because kale has relatively shallow roots.
A layer of organic mulch around the plants can help reduce weeds while also keeping the soil from drying out too quickly.
Keep the mulch slightly away from the base of the plant to improve airflow and reduce moisture problems around the stem.
Step 9: Harvest the Leaves
One of the best things about kale is that you can harvest it gradually.
Instead of cutting the entire plant, pick the larger outer leaves first. Leave the smaller leaves in the center so the plant can continue producing.
Harvesting this way can give you fresh kale for several weeks.
Young leaves are usually tender and mild, while larger mature leaves have a stronger texture and flavor.
If frost is expected, do not worry too much. Established kale plants can handle light frost and often continue growing in cool weather.
Common Mistakes When Growing Kale From Seed
New gardeners sometimes make a few simple mistakes when starting kale.
Planting during extreme heat: Kale prefers cool weather, so very hot conditions can make it difficult to establish.
Planting seeds too deeply: Kale seeds only need a shallow covering of soil.
Overwatering: Constantly wet soil can cause root problems.
Crowding plants: Give seedlings enough room to grow and allow air to move around the foliage.
Waiting too long to harvest: Regularly picking mature outer leaves encourages continued production.
Final Thoughts
Learning how to grow kale from seeds does not require complicated gardening skills. Give the seeds shallow planting, steady moisture, good sunlight, and fertile, well-drained soil, and they can get off to a strong start.
The biggest secret is choosing the right season. Kale performs best when temperatures are cool, making spring and fall excellent times for a home garden.
Once your plants are established, harvest the outer leaves regularly and let the center keep growing. With just a little care, a small patch of kale can provide fresh greens for much of the season.